
Why did I migrate from the Dreamstation Go to the AirMini?
I’ve had to make the transition from Dreamstation Go to the ResMed Airmini because of the recall. In this post, I’d like to share some of the things I learned that made the transition easier.
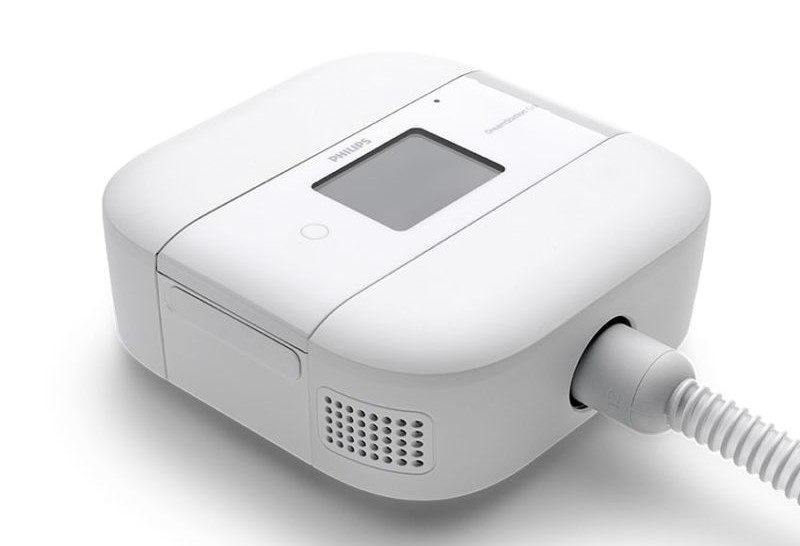
Things I Liked about the Dreamstation GO
I’ve used the Phillips Dreamstation Go as my travel CPAP for years and have liked it. It’s small and doesn’t require an external power supply. The thin flexible tubing that comes with the Dreamstation Go is comfortable, easy to use, and easy to pack. Unfortunately, the Dreamstation Go was part of the Philips recall. I had been hoping they would start shipping “good” replacement Dreamstation Go units, but after 2 years my hopes were fading and I decided to turn it in for the cash.
The Good and Bad about the Resmed AirMini
The AirMini is a nice compact unit from a reputable manufacturer so it was my replacement choice. But there were a few characteristics of the AirMini that I wasn’t thrilled about. The outlet fitting on the AirMini requires a proprietary tube connector which locks you into buying their own tubing and mask connectors. It’s not exactly an open system.
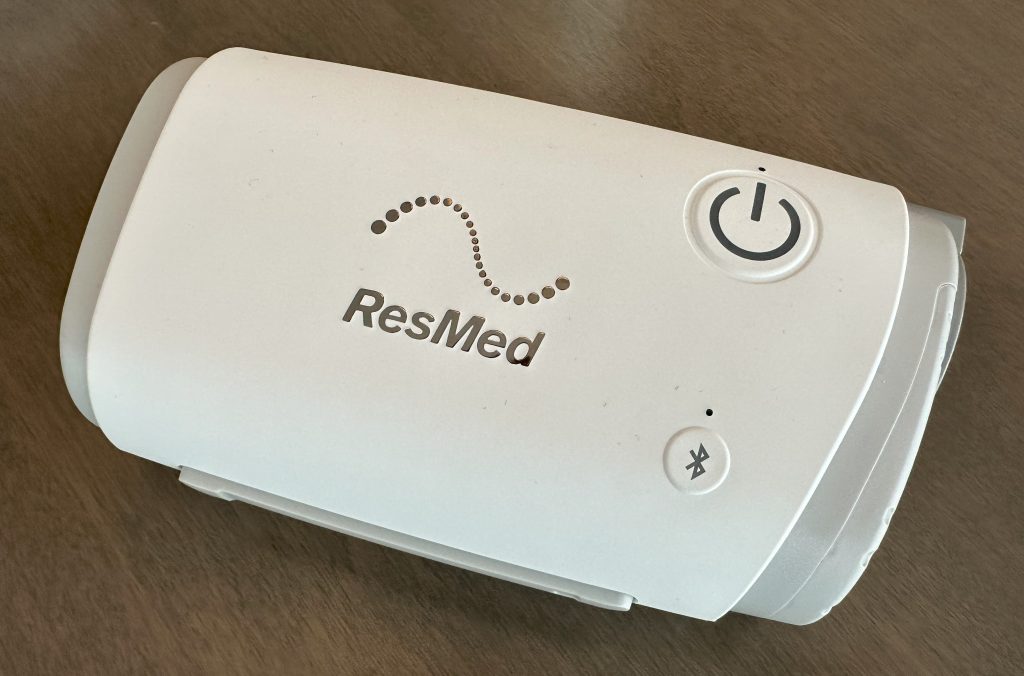
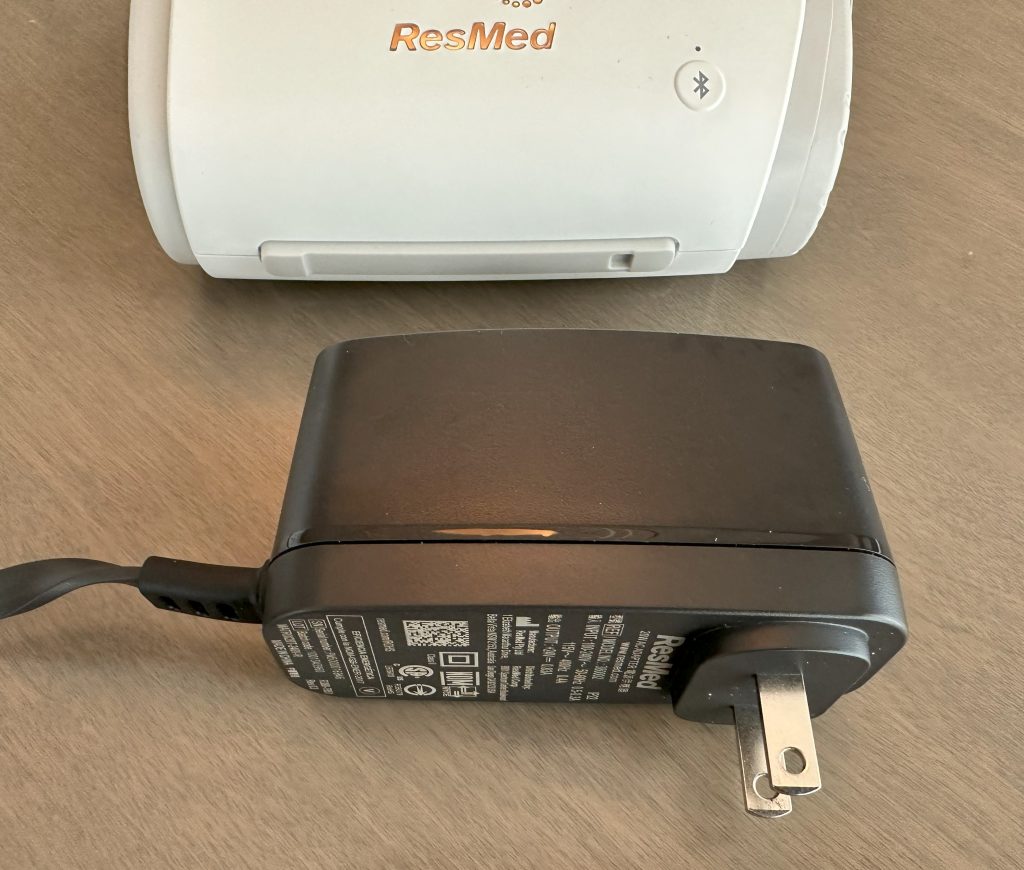
And while the unit itself is quite compact, it requires a bulky power adapter cube, that seems almost the same size as the AirMini itself!
Dreamstation GO Tubing vs Standard Tubing
While the adapter would allow me to connect a standard CPAP tube, I really wanted to be able to use the thin, flexible tubing from my Dreamstation Go. Unfortunately, the Dreamstation Go also has a proprietary connection at the end of its tubing.
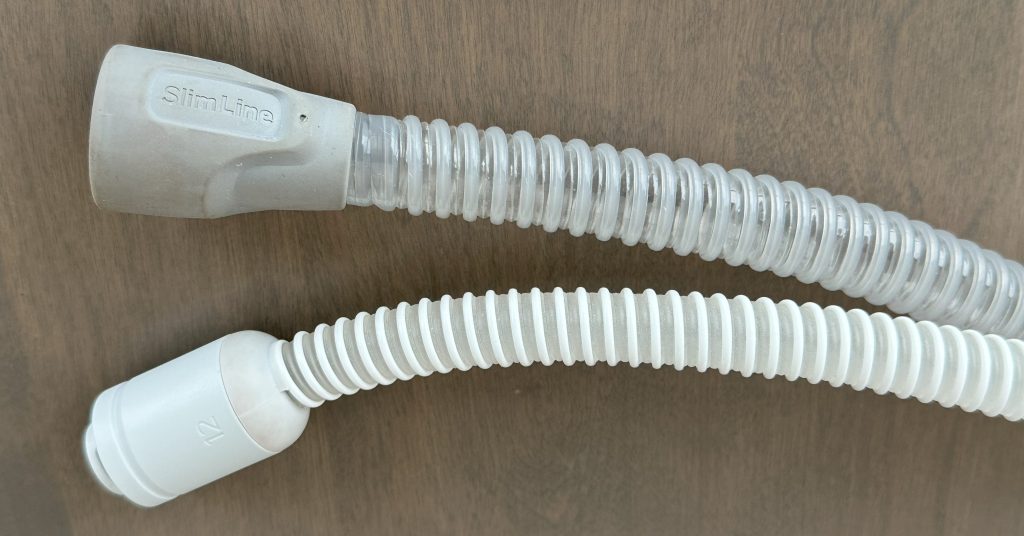
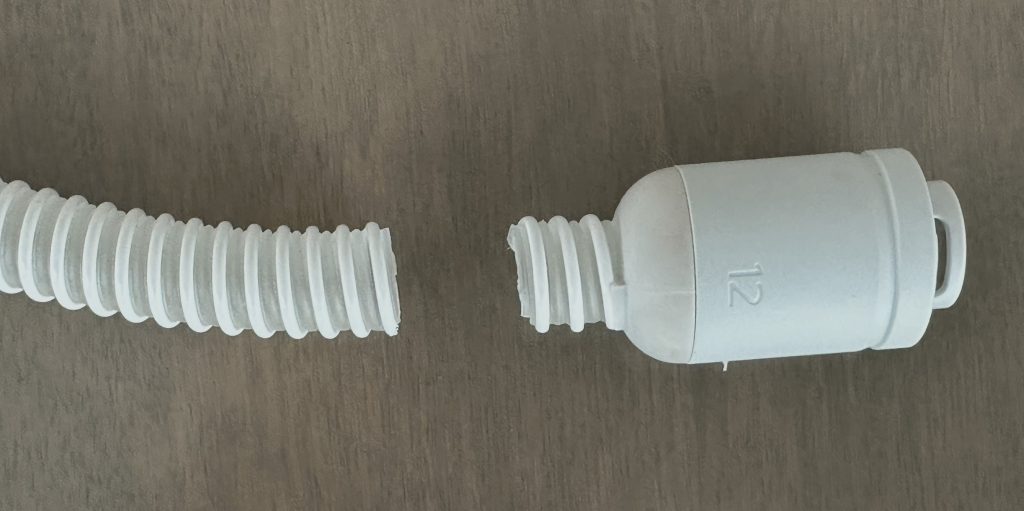
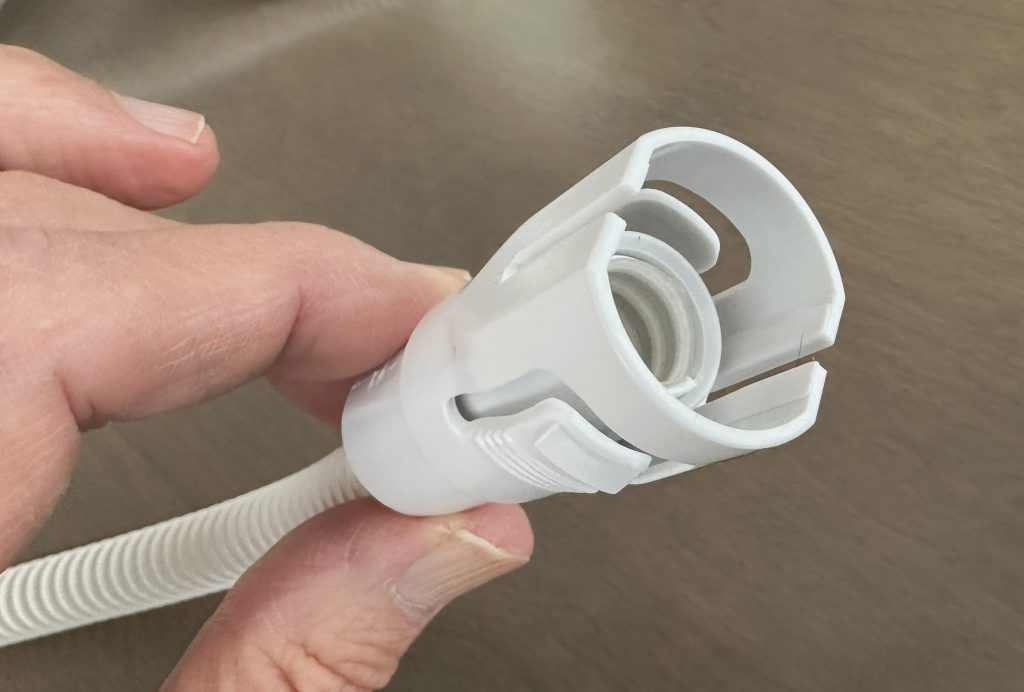
So I decided to attach the Philips tubing to the adapter so I could use it with the AirMini. I cut off the Philips connector at the end of the tubing.
I discovered that I could slide the Philips tubing perfectly into the third-party adapter I had purchased. But the fit wasn’t secure, and the tubing would pull out of the adapter. I needed a way to make the fit secure as well as airtight.
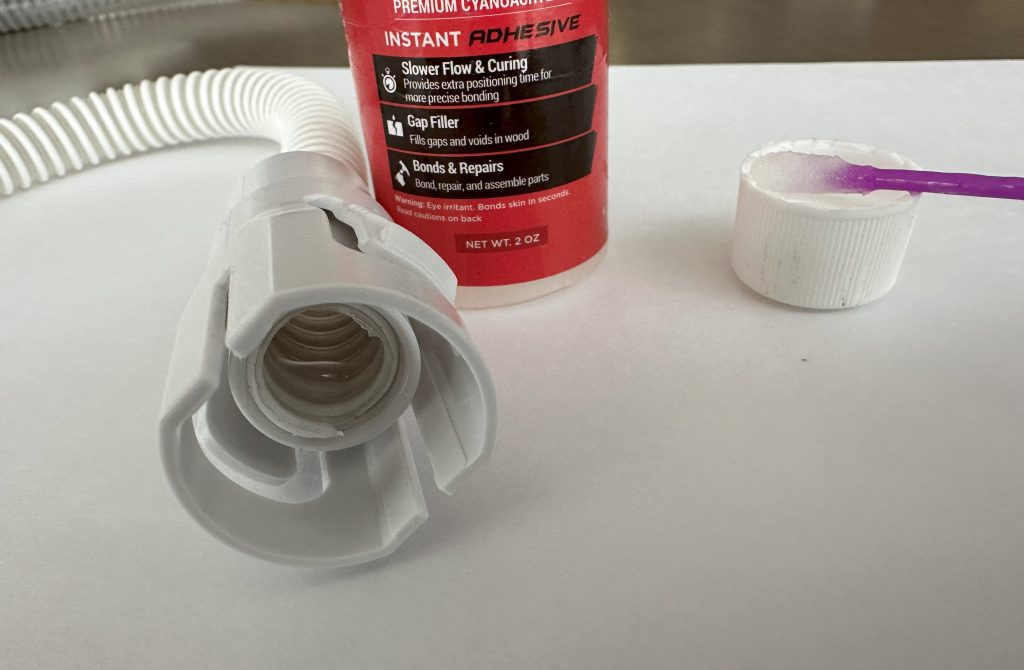
By applying some thick glue to the outside surface of the tubing before it was inserted into the adapter, I got a good seal and the tubing was held securely.
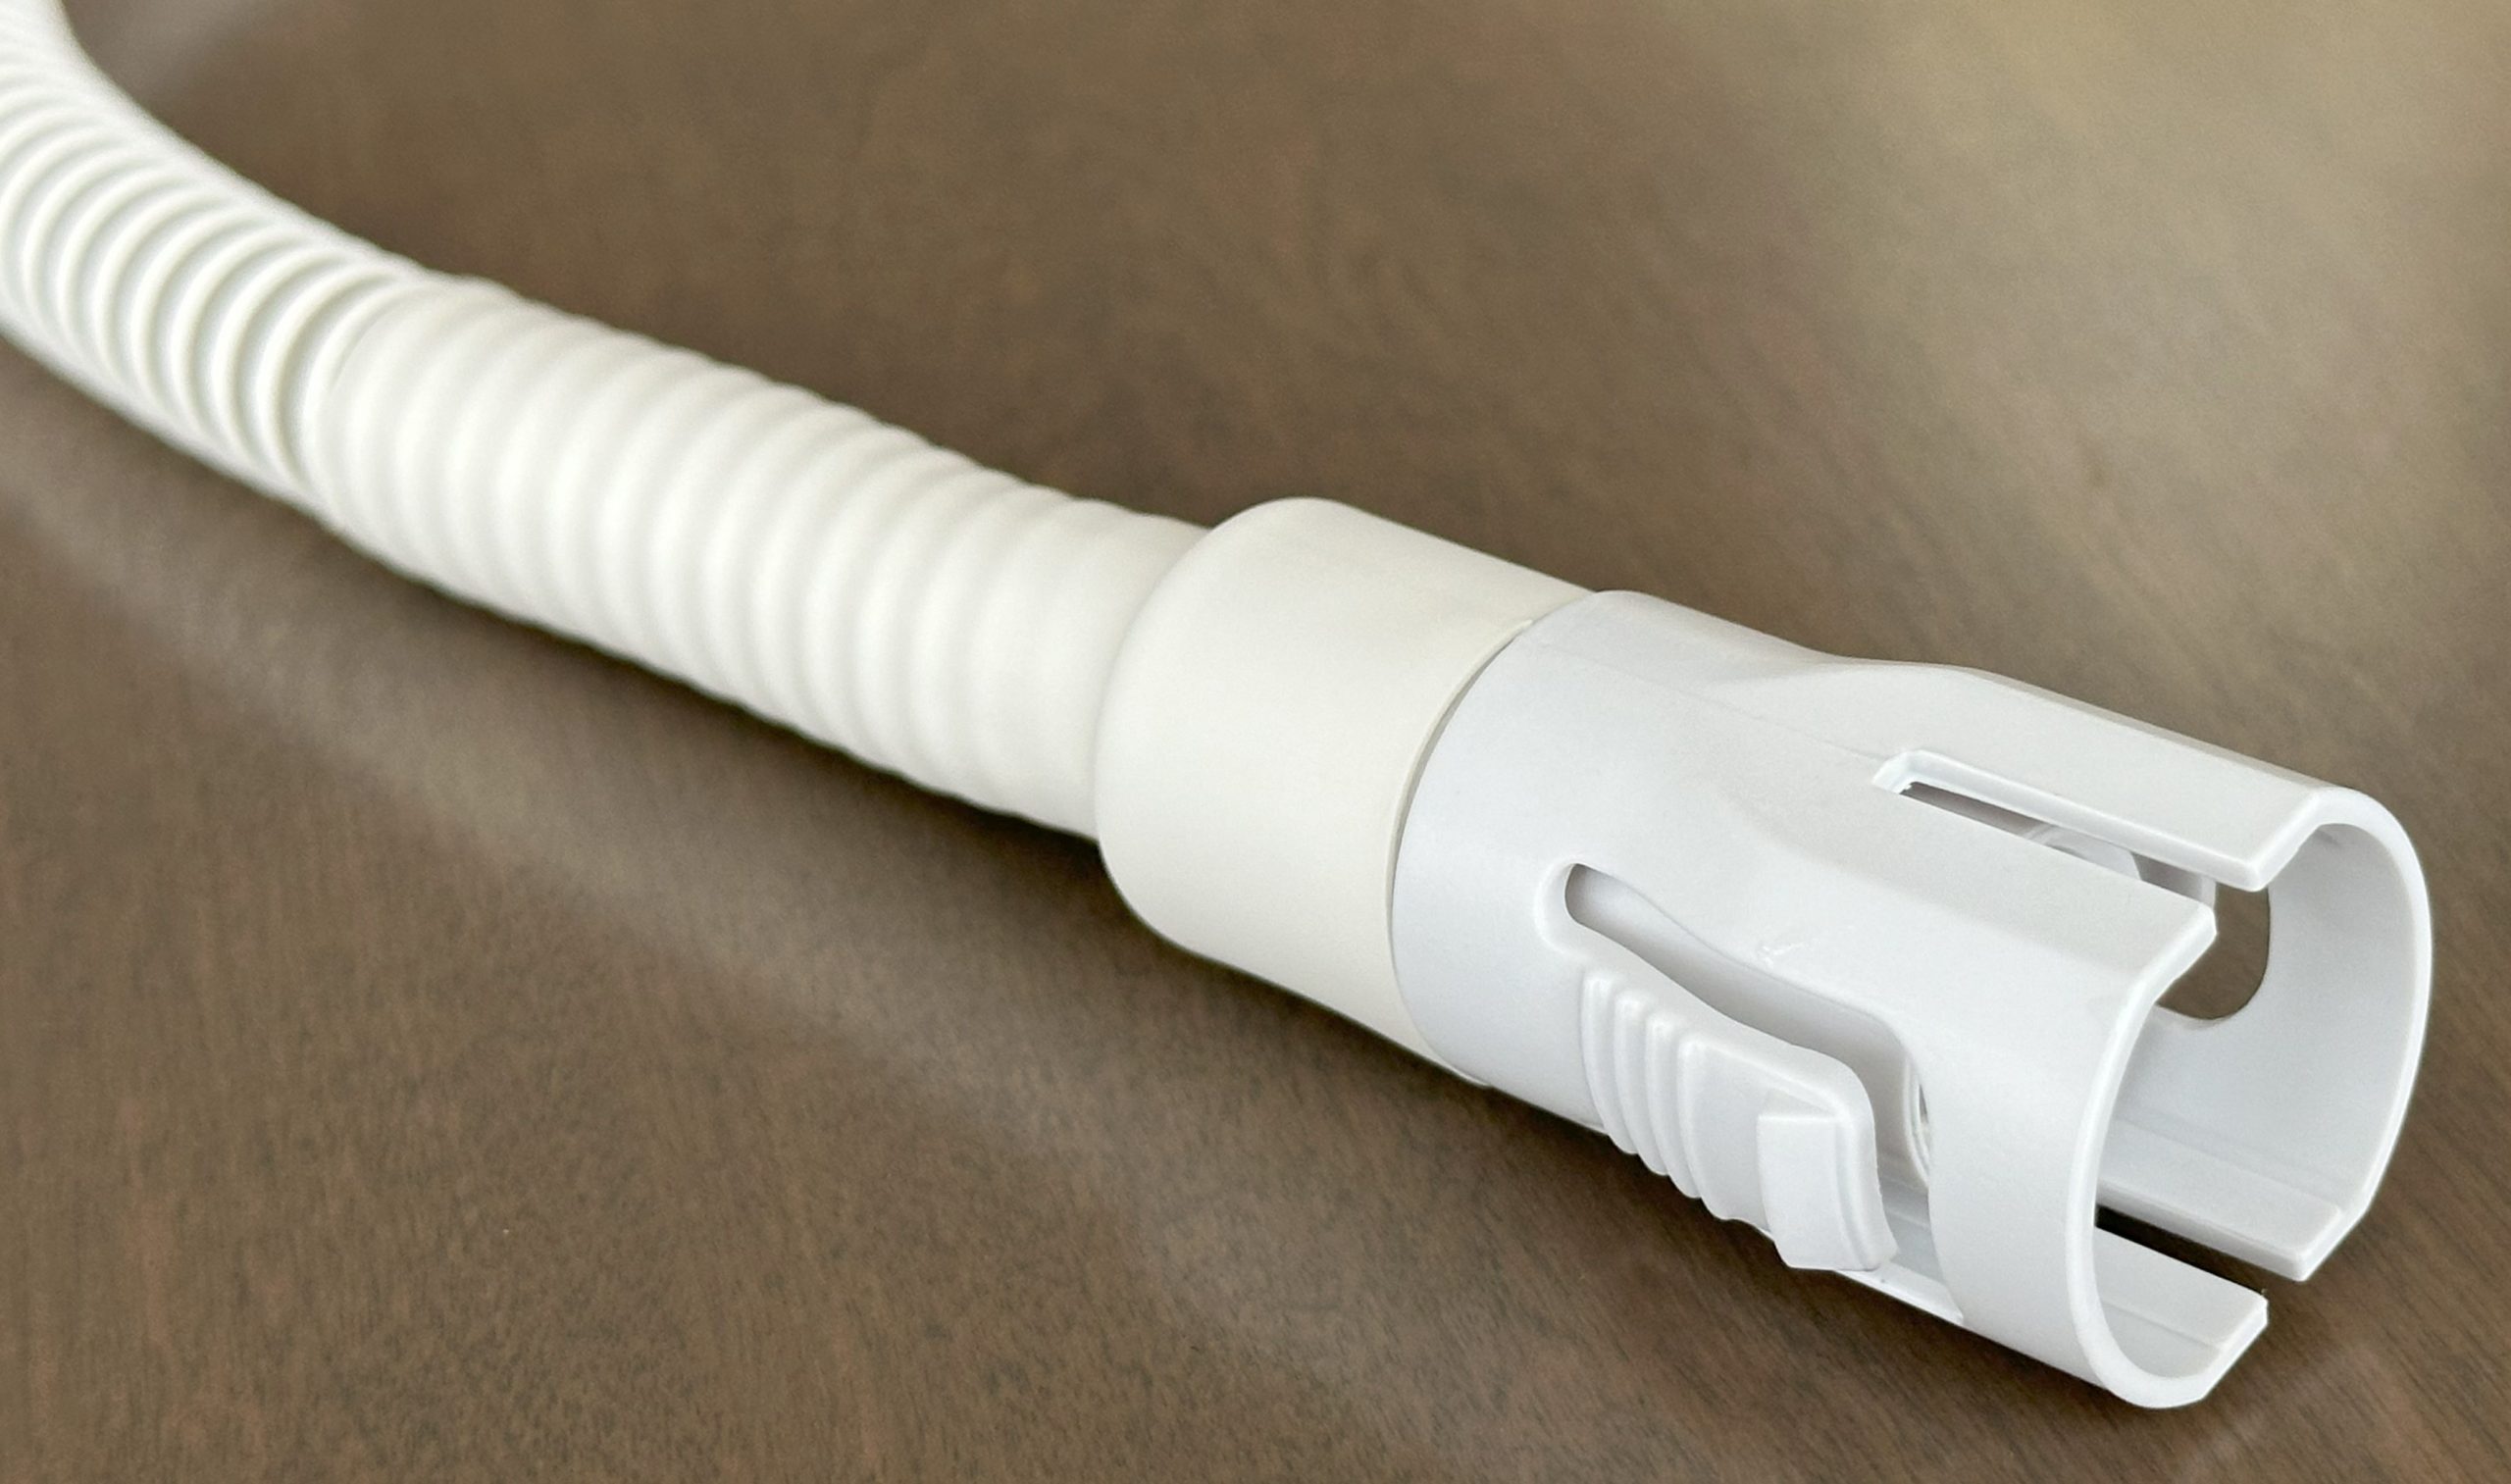
To make the whole thing more durable and finished looking, I used a 1” diameter heat shrink tubing to hold everything in place.

Using a USB-C Converter and a PD Charger
Looking for an alternative to the large power supply, I discovered USB-C adapters that could be used to power the AirMini. There are several adapters available. and you must have a combination of converter and power source that are compatible. You’ll find many reviews of these USB-C adapters where people complain they wouldn’t work with their charger.
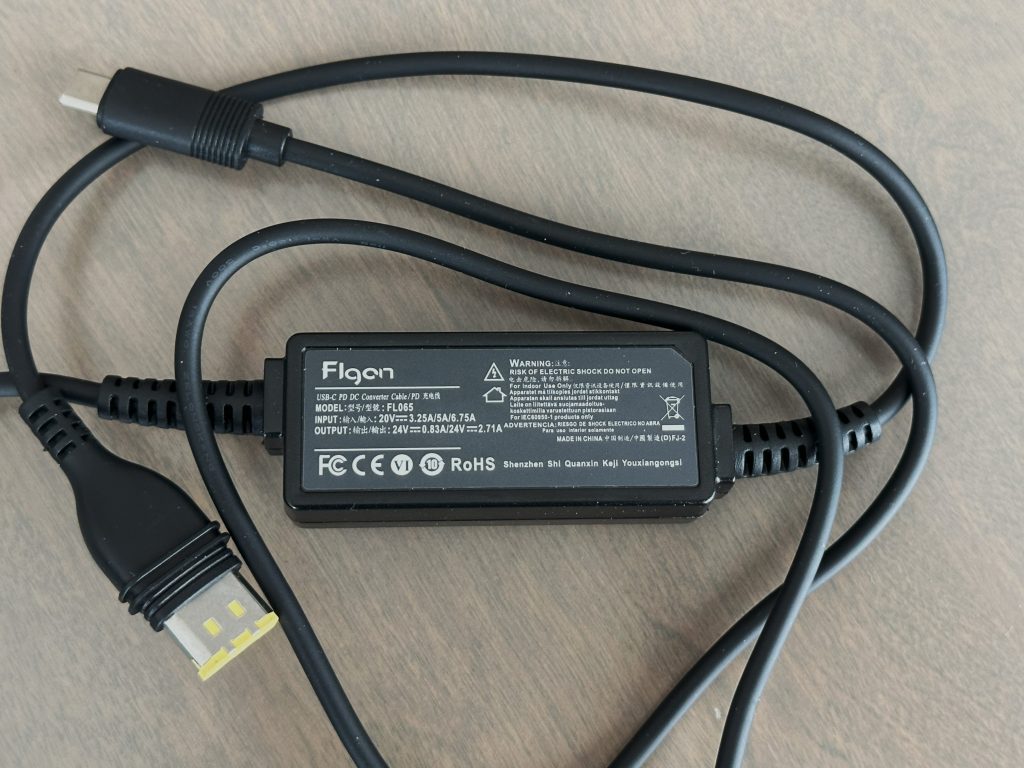
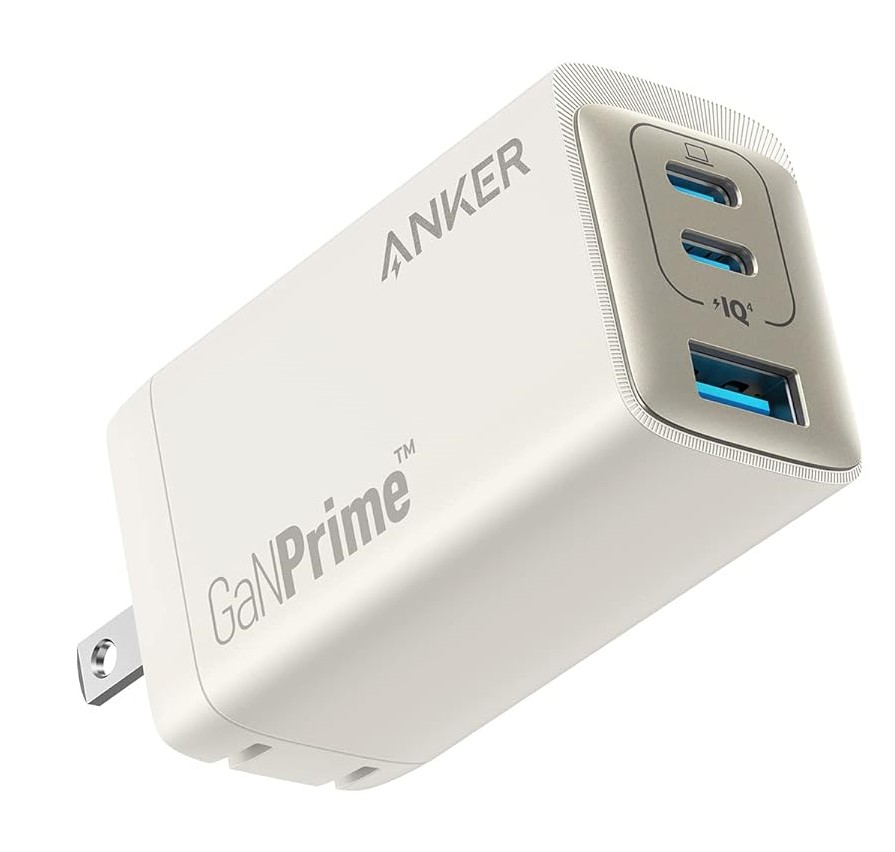
Because of the power requirements, you will generally need a charger with sufficient wattage to charge a laptop. With the right combination, you can use the charger to power your CPAP at night as well as charge your phone, laptop, etc.
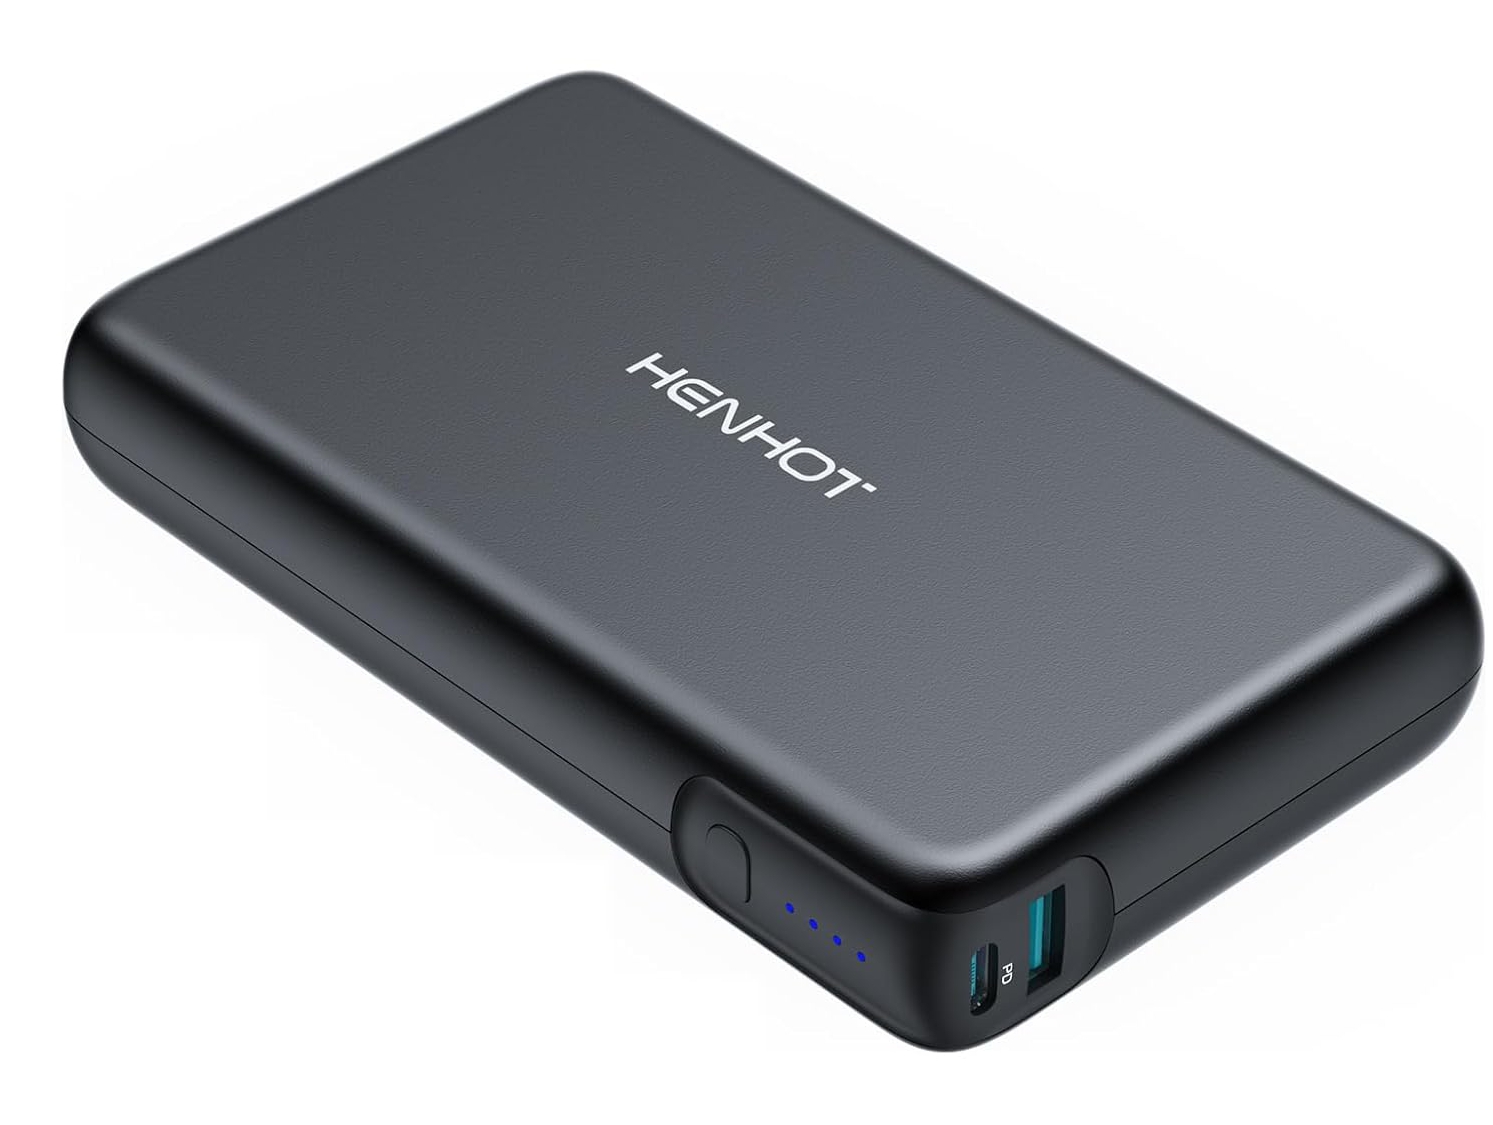
Using a Power Bank
In addition to using a laptop charger, a robust battery pack with sufficient USB-C power output can also be used to power the AirMini. This might be a solution for people who are camping or want to grab a quick nap on the patio. The battery pack I bought for about $50 bucks seems to do a great job.
Here’s the listing of the stuff I bought for this project. I can’t guarantee that everything will work for you. And of course, use this information at your own risk. I’m not a doctor and I have no idea what I’m doing!